
How To Get Access To Google Search Console: Mastering Guide


If you're keen on optimizing your website's performance and enhancing its visibility on Google, gaining access to Google Search Console is an essential step. This powerful tool offers valuable insights into your site's search performance, indexing status, and more. In this guide, we'll delve into the process of obtaining access to Google Search Console, ensuring you have the necessary tools to elevate your online presence.
Understanding Google Search Console
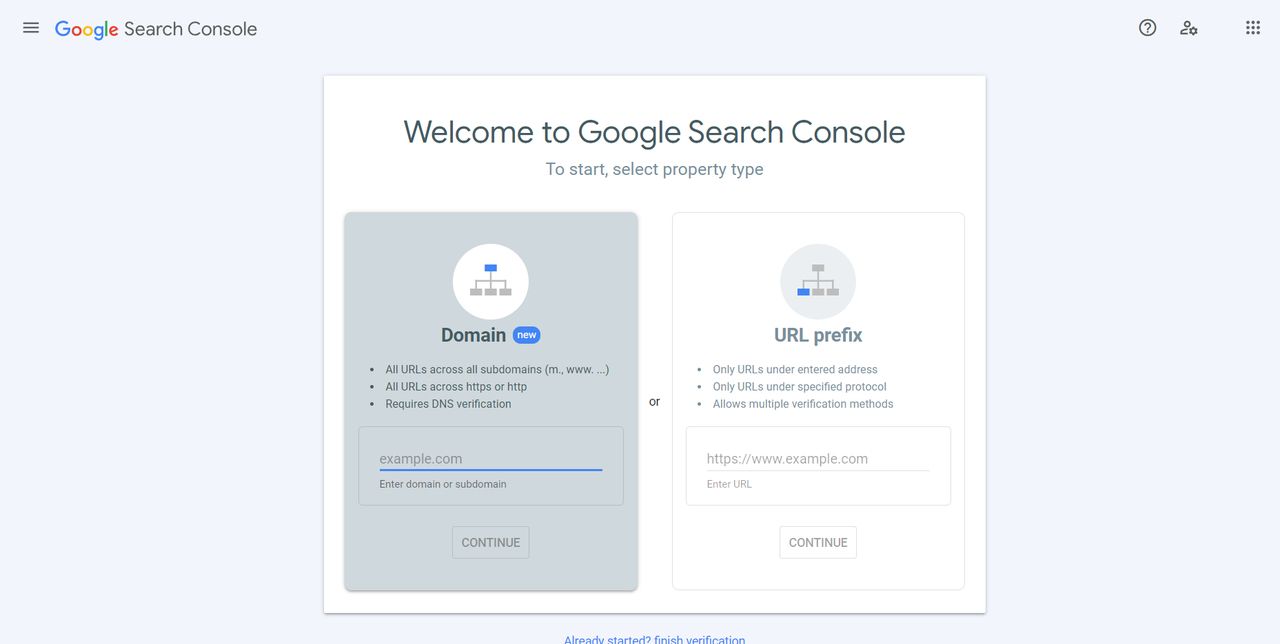
Google Search Console serves as a pivotal platform for webmasters and site owners, providing a comprehensive overview of how Google perceives and interacts with your website. To begin harnessing the benefits of this tool, you must first navigate to the official Google Search Console website and sign in with your Google account. Once logged in, you can either add a new property or select an existing one associated with your website.
Important Search Concepts
Before diving into the access process, it's crucial to grasp a few key concepts related to Google Search. Familiarize yourself with terms like indexing, crawl errors, and search analytics. Understanding these concepts will not only streamline the access process but also empower you to make informed decisions regarding your site's performance.
Now, let's explore the steps to grant full access and add users to Google Search Console.
Getting Started with Search Console
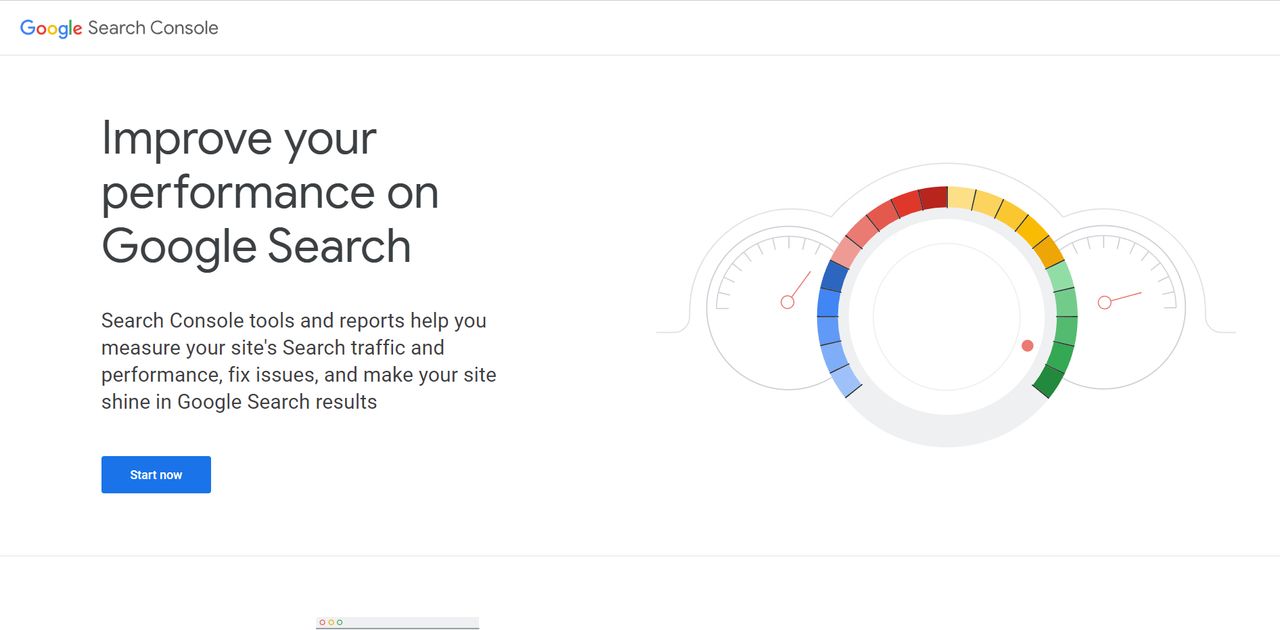
To embark on your journey with Google Search Console, start by logging in to the platform using your Google account credentials. Visit the official Google Search Console website and click on the "Start Now" button. Once logged in, you'll be prompted to add a property, where you can either select an existing one associated with your website or add a new property to initiate the access process.
1. How to Login to Google Search Console
Logging in is the initial step to unlock the wealth of information that Google Search Console has to offer. Enter your Google account credentials and ensure you have the necessary permissions to access and manage the property you're interested in.
This step establishes the foundation for monitoring and optimizing your website's performance.
2. How to Navigate to Admin Settings
After logging in, navigate to the Admin settings to access the administrative functions of Google Search Console. The Admin settings provide you with the tools to manage users, set permissions, and configure other essential aspects related to your property.
This section is where you can take control and tailor the console to suit your specific needs.
3. Determine Your Own Permission Level
Understanding and defining permission levels is crucial for effective collaboration within the Google Search Console. Determine your own permission level based on the level of access you require. Whether you need full access or limited permissions, configuring these settings ensures a smooth workflow and collaboration with other users involved in optimizing your website's search performance.
Managing Owners, Users, and Permissions on Google Search Console
When it comes to optimizing your web presence through Google Search Console, understanding how to manage owners, users, and permissions is paramount. Efficiently handling these aspects ensures a streamlined collaboration process, allowing your team to work seamlessly towards enhancing your site's performance.
A. How to Add a New User or Delegated Owner
To expand your team's access to Google Search Console, adding new users or delegated owners is a straightforward process. Navigate to the Admin settings and select "Users and Permissions." From there, click on the "Add User" button, enter the email address of the new user or delegated owner, and assign the appropriate permission level.
B. How to Remove a User or Delegated Owner
Maintaining control over your Google Search Console requires periodic review and adjustments to user access. If the need arises to remove a user or delegated owner, access the "Users and Permissions" section in the Admin settings. Locate the user you wish to remove, click on the three dots next to their email address, and select "Remove Access."
This ensures that your console remains secure and accessible only to authorized individuals.
C. How to Add a Verified Owner
Verifying ownership of your website is a fundamental step in harnessing the full capabilities of Google Search Console. To add a verified owner,
- Navigate to the Admin settings and select "Users and Permissions." From there, click on the "Add User" button.
- Click on the "Owner" section, enter the email address associated with the verified owner, and complete the verification process.
This establishes a secure connection between the console and your website, enabling comprehensive data analysis.
D. How to Remove a Verified Owner
If the need arises to remove a verified owner,
- Access the property settings and navigate to the "Owners" section.
- Click on the three dots next to the verified owner's email address and select "Remove Ownership."
This step should be approached with caution, ensuring that only authorized individuals have control over critical aspects of your website within Google Search Console.
E. Determine Someone Else's Permission Level
To facilitate effective collaboration, it's essential to accurately determine the permission level of other users. Access the "Users and Permissions" section in the Admin settings, locate the user in question, and review their assigned permission level.
This knowledge allows you to delegate responsibilities appropriately and maintain a secure and efficient working environment within Google Search Console.
How to Grant Full Access to Google Search Console
Gaining full access to Google Search Console is a pivotal step for webmasters aiming to delve into the intricacies of their website's search performance. To grant full access:
- Navigate to the Admin settings and select "Users and Permissions."
- Click on the "Add User" button, input the email address of the user you wish to grant full access to and assign the "Full" permission level. This comprehensive access level allows users to explore all features and data within Google Search Console, empowering them to make informed decisions for optimal website optimization.

A. Full Permission
Full permission within Google Search Console provides users with unrestricted access to all features and data associated with the specified property. Users with full permission can view and modify settings, review performance reports, and address any issues affecting the website's search visibility.
This level of access is ideal for individuals who play a central role in website management and require comprehensive insights for effective decision-making.
B. Restricted Permission
In contrast to full permission, restricted permission is a more limited access level within Google Search Console. This permission setting is suitable for users who need to focus on specific tasks without access to all features. To assign restricted permission, follow the same steps outlined for full access, but choose the "Restricted" permission level instead.
This tailored approach ensures that users can contribute to the optimization process without the risk of unintentional modifications to critical settings.
How to Add a User to Google Search Console
Enhancing collaboration and expanding access within Google Search Console involves adding users to your account. Here's a straightforward guide to seamlessly incorporate new members into your optimization efforts.
1. Choosing the Property You Want to Share
Commence the process by selecting the specific property within Google Search Console that you want to share with a new user. Whether it's an existing property associated with your website or a new one you've recently added, pinpointing the relevant property sets the stage for granting access.
2. Opening the Settings Menu
Navigate to Settings by clicking on the gear icon located in the lower-left corner of the Google Search Console dashboard. This action opens the settings menu, providing you with access to various administrative functions, including user management.
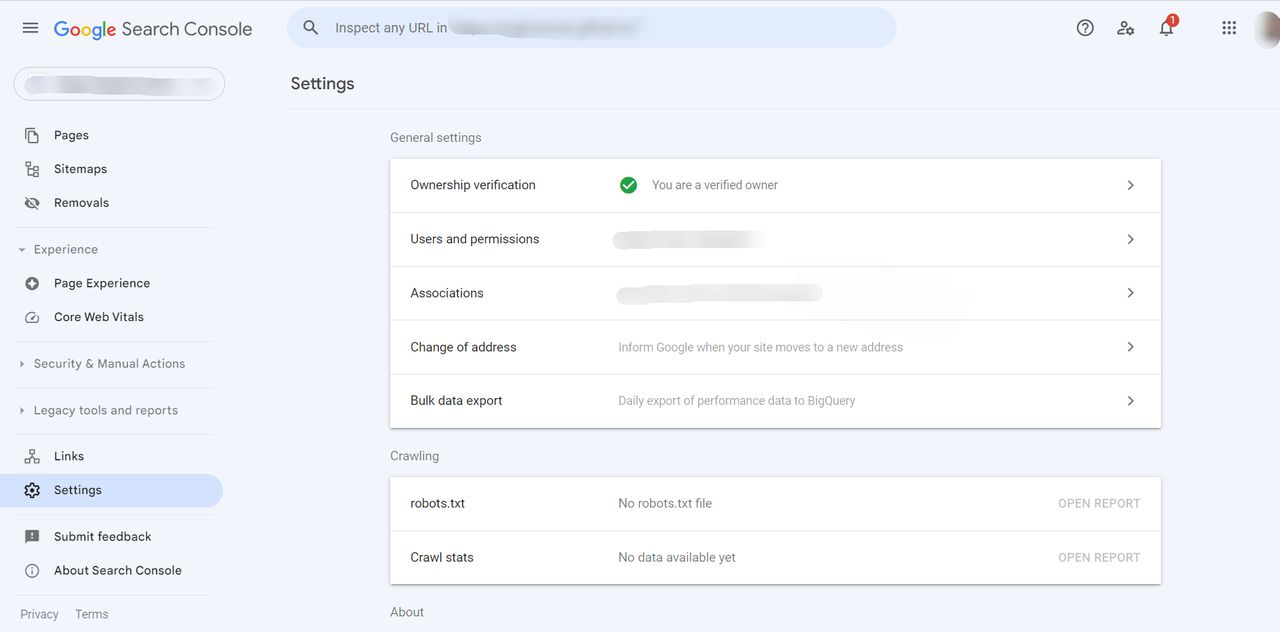
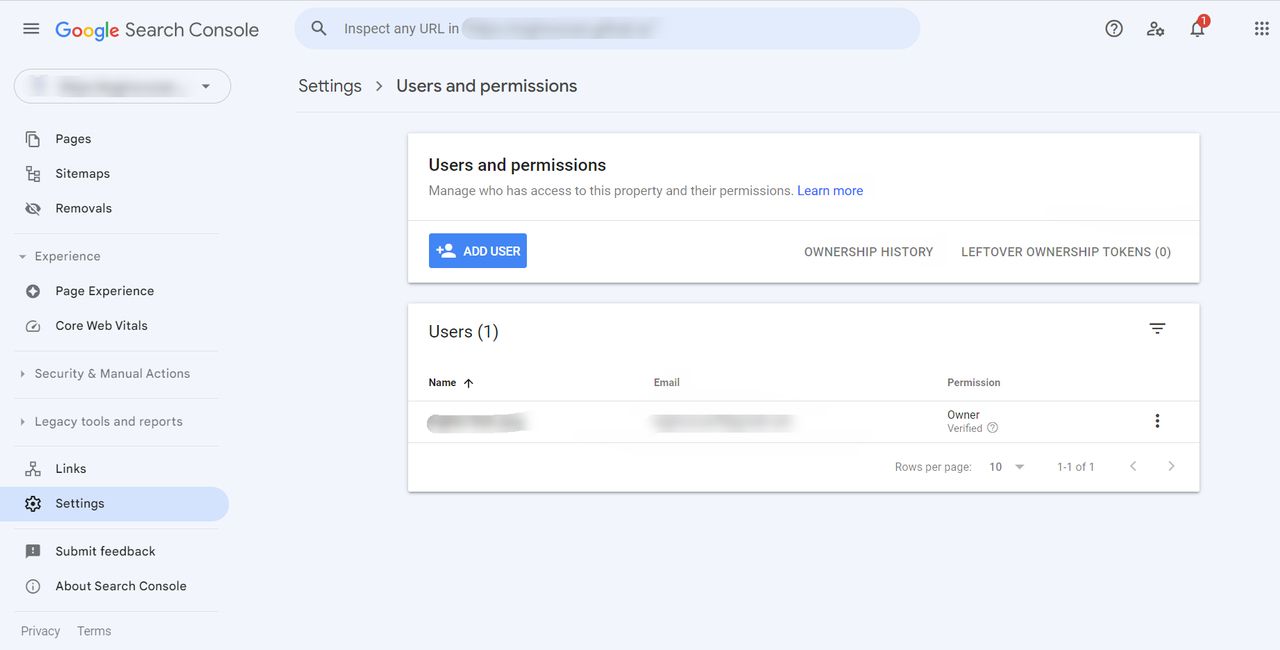
3. Accessing the Users and Permissions Settings
Within the settings menu, locate and click on "Users and Permissions." This section is your gateway to managing the individuals who have access to your Google Search Console account. From here, you can control permissions, add new users, and adjust settings to suit your collaborative needs.
4. Steps to Add a User
Once in the "Users and Permissions" settings, click on the "Add User" button to initiate the process of adding a new user. This action prompts a series of steps that guide you through the user addition process, ensuring a seamless and secure integration into your Google Search Console account.
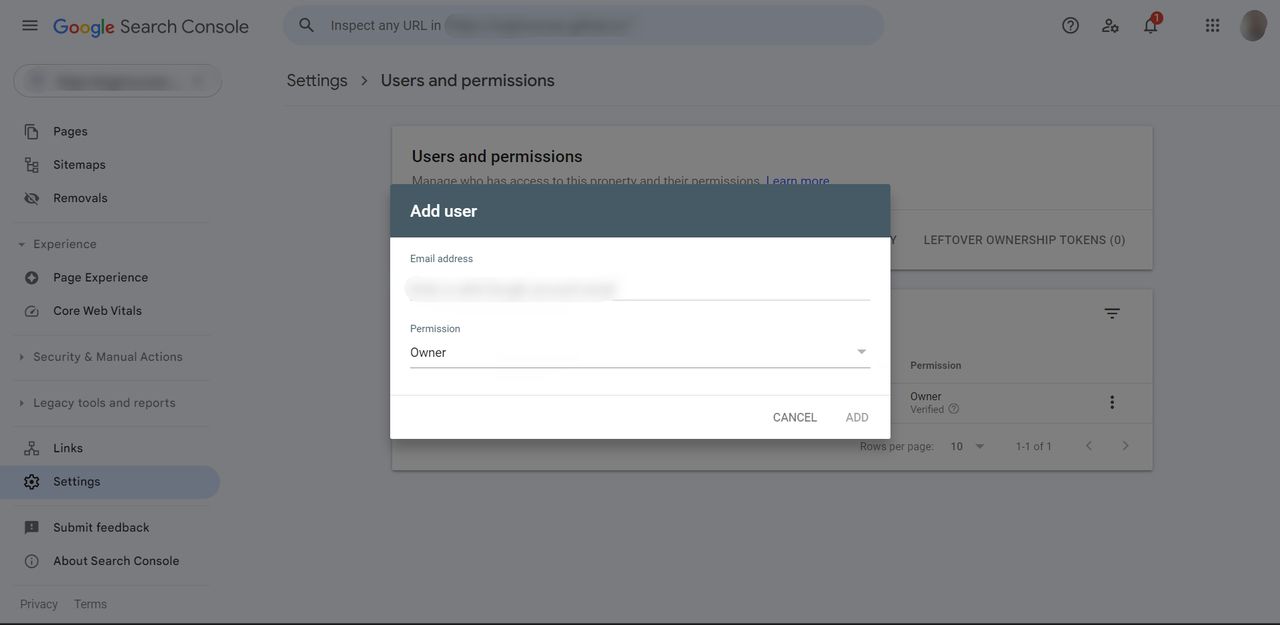
a. Add User Details
Enter the details of the new user, starting with their email address. Specify the permission level you want to assign to the user—whether it's full or restricted access. Choosing the appropriate permission level ensures that the new user can contribute effectively to your optimization efforts without compromising critical settings.
Complete the process by confirming the addition solidifying the collaborative foundation within Google Search Console.
How to Change a User’s Permission Level
Efficiently managing access within Google Search Console involves the ability to adapt user permissions based on evolving needs. Follow this guide to seamlessly adjust the permission levels of existing users within your account.
1. Navigating to Users and Permissions
To initiate the process of changing a user's permission level, begin by navigating to the "Users and Permissions" section within the Admin settings. This can be accessed through the settings menu, and it serves as the central hub for overseeing and modifying the access levels of individuals associated with your Google Search Console account.
2. Locating the User
Once in the "Users and Permissions" section, locate the user whose permission level you intend to change. Identify the user by their email address and review their current permission level to ensure accurate modifications.
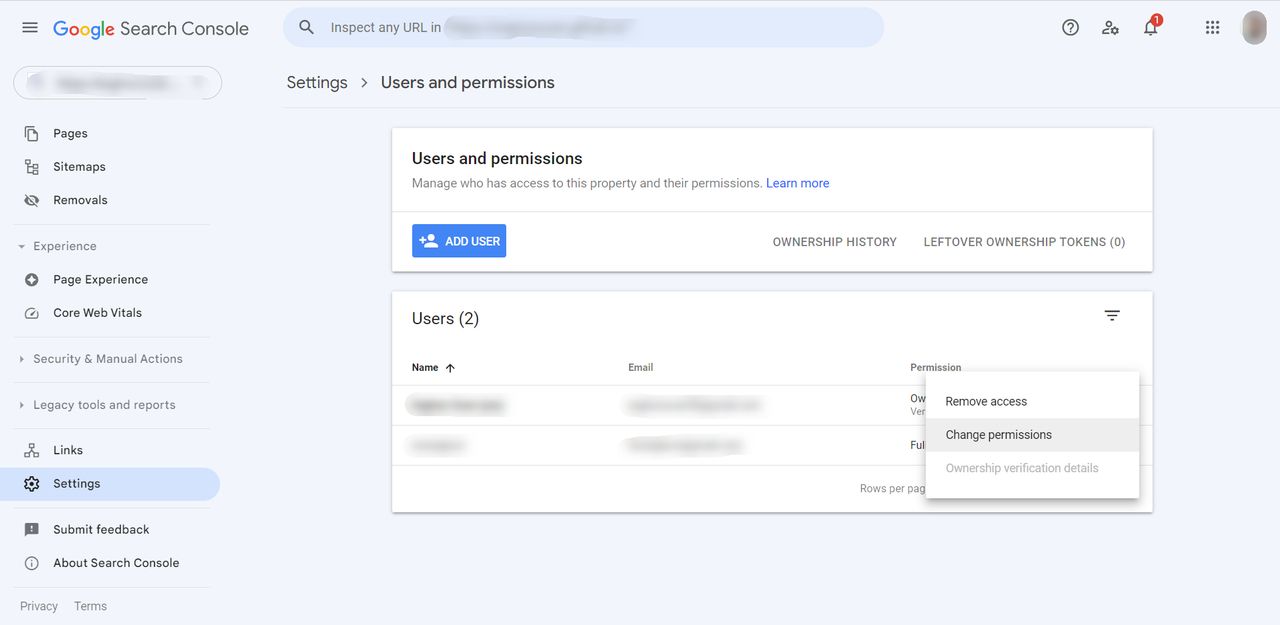
3. Changing Permission Level
Click on the user's email address or the three dots next to it to reveal a dropdown menu. Within this menu, select the "Change Permission" option. Choose the updated permission level you wish to assign to the user—whether it's upgrading to full access or refining permissions for a more restricted role.
4. Confirming Changes
After selecting the new permission level, confirm the changes to solidify the adjustments. Google Search Console will prompt a confirmation dialogue to ensure accuracy and prevent unintended modifications. Confirming the changes guarantees that the user now possesses the updated permission level, aligning their access with the requirements of your collaborative efforts.

Effortlessly adapting user permissions within Google Search Console empowers you to maintain a secure and collaborative environment, ensuring that individuals have the appropriate level of access to contribute effectively to your website's optimization.
Position Tracking
Efficiently monitoring the performance of your website in search results is crucial for understanding its visibility and impact. Position tracking within Google Search Console provides valuable insights into the rankings of your most important keywords.
By implementing this feature, you can stay informed about the positions your website holds for specific search terms, allowing you to assess the effectiveness of your optimization strategies.
Setting Up Position Tracking for Your Most Important Keywords
1. Navigate to the Performance section in Google Search Console.
2. Select the "Queries" tab, where you can view a list of keywords associated with your website.
3. Identify the keywords that are particularly crucial for your online presence and click on the checkbox next to them. With the keywords selected, click on the "Set up position tracking" button.
Specify the frequency at which you want position tracking updates, whether it's daily, weekly, or monthly. This customization ensures that you receive timely and relevant information about your keyword rankings.
Confirm your settings, and Google Search Console will start tracking the positions of your selected keywords over time. Regularly reviewing this data empowers you to make informed decisions to enhance your website's visibility and performance in search results.
Conclusion
In conclusion, gaining access to Google Search Console is an integral step for webmasters and site owners seeking to optimize their online presence. By following the outlined steps, you can seamlessly navigate the process of setting up and managing your account. From understanding essential search concepts to adding users and adjusting permission levels, this guide provides a comprehensive overview for harnessing the full potential of Google Search Console.
As you embark on your journey with this powerful tool, remember to explore advanced features like position tracking to gain deeper insights into your website's performance. By regularly monitoring your most important keywords' positions, you can refine your optimization strategies and enhance your site's visibility in search results.
With the knowledge and skills acquired through this guide, you are well-equipped to navigate the intricacies of Google Search Console and leverage its functionalities to drive your website towards greater success. Keep exploring and adapting your approach to stay at the forefront of effective search engine optimization practices.
For further reading, you might be interested in the following: